
Schedules
A schedule is a timetable that illustrates the relationship between resources and events (called bookings in Oberplan).
Create a Schedule
To create a schedule, click the button on the toolbar of the My Schedules view.
The schedule page is divided into different sections:
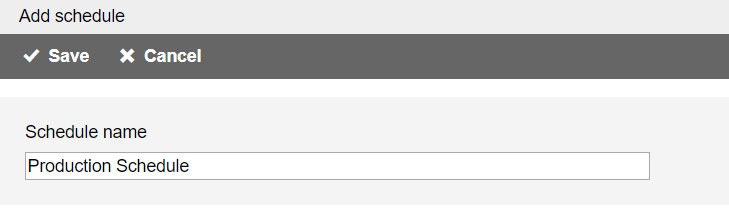
When you're finished configuring the schedule, click the button at the top of the page to create the new schedule, or click the button to discard it.
The schedule name is the only mandatory field. The name must be unique across all existing schedules owned by you.
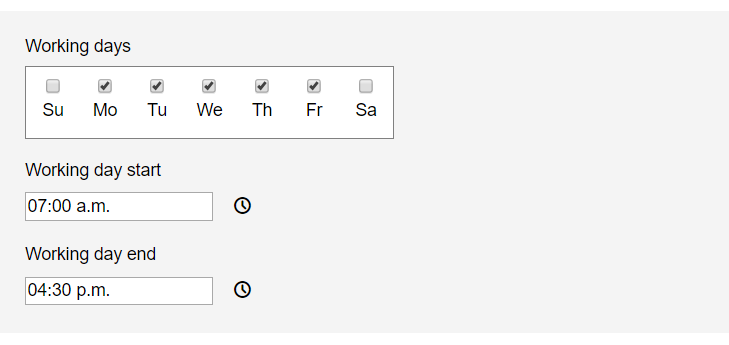
Select at least one working day and enter the daily working times. The working times must not include a day break. Enter 0:00 am in both time fields for all-day working days.
Non-working times are shown with special colors on the schedule chart and are not included when the working hours of a booking are calculated.

Select the week numbering system that determines on which day the week begins. The week number is shown on the timescale along the top of the schedule chart
You have the following options for the week numbering system:
| Name | First day of week | First week of year contains |
|---|---|---|
| European / ISO 8601 | Monday | 4 January / 1st Thursday |
| American | Sunday | 1 January |
| Middle East | Saturday | 1 January |
| Mixed | Monday | 1 January |
Note: The week numbering system is schedule-specific and is independent on the first day of week that is set by you in the user profile.
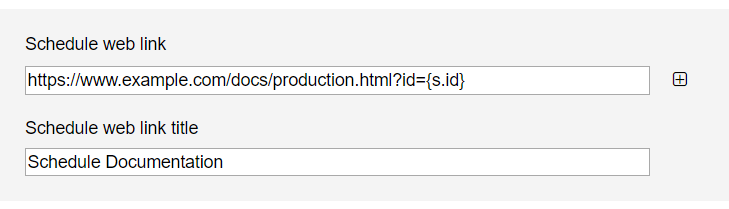
You can enter a web link (URL) to connect the schedule with a web location. Click the button to add a variable to the link. The variable will be replaced dynamically with data.
If you enter a title for the hyperlink it will displayed instead of the URL.
Note: The schedule link is shown on the expanded schedule row on the My Schedules view and on the schedule information window on the Schedule view.
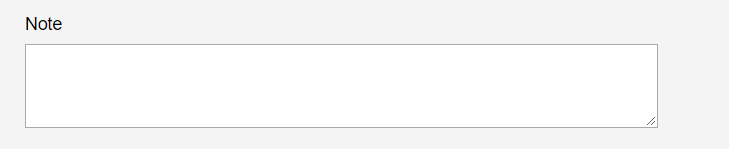
You can enter a note with arbitrary text.
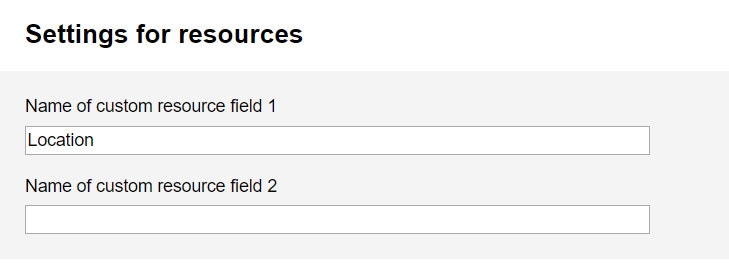
You can add 2 custom fields for resources. The custom fields are text fields that can be populated on the resource page.
Note: A custom field is only available on the resource page if you entered a name for it.
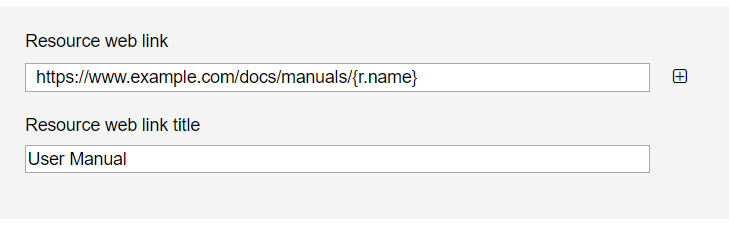
You can enter a web link that is displayed for all resources. Click the button to add a dynamic variable (e.g. the internal resource ID or the resource name) to the link.
Note: The resource link is shown on the expanded resource row on the Resources view and on the resource information window on the Schedule view.
If you enter a title for the hyperlink it will displayed instead of the URL.
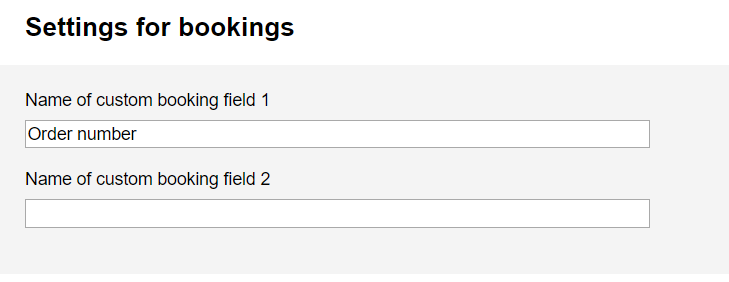
You can add 2 custom fields for bookings. The custom fields are text fields that can be populated on the booking page.
Note: A custom field is only available on the booking page if you entered a name for it.
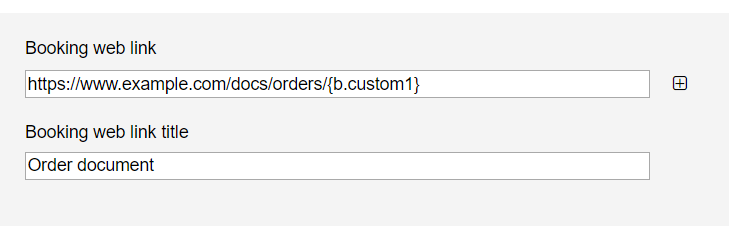
You can enter a web link that is displayed for all bookings. Click the button to add a dynamic variable (e.g. the internal booking ID or the booking title) to the link.
Note: The booking link is shown on the expanded booking row on the Bookings view and on the booking information window on the Schedule view.
If you enter a title for the hyperlink it will displayed instead of the URL.
Edit a Schedule
You can edit a schedule in either the My Schedules view or the Schedule view.
On the My Schedules view click the button on the schedule row or right-click the schedule name to open the context menu. Then select from the menu.
On the Schedule view click the schedule name on top of the page or click the main menu button and select from the menu to show the schedule information window. Click the button on top of the window to open the schedule page.
Delete a Schedule
To delete a schedule, navigate to the My Schedules view.
Click the button on the row of the schedule you want to delete or right-click on the schedule name to open the context menu. Then select from the menu.
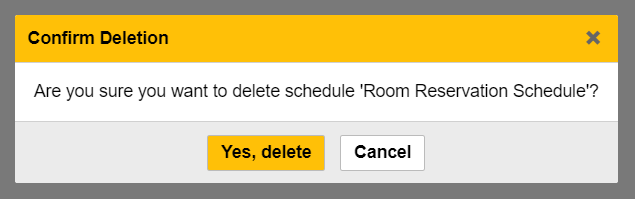
You will be asked to confirm that you wish to permanently delete the schedule.