
Resources
A resource is anything that can be scheduled, for example a person, a room or a machine.
Create a Resource
To create a resource, click the button on the toolbar of either the Schedule view or the Resources view.
The resource page is divided into different sections:
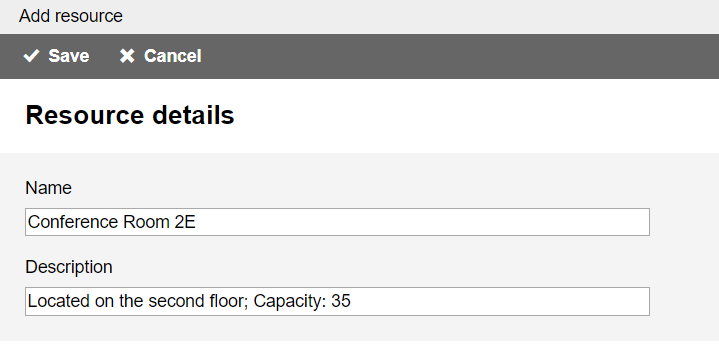
When you're finished configuring the resource, click the button at the top of the page to create the new resource, or click the button to discard it.
The resource name is the only mandatory field. The name must be unique across all existing resources of the schedule.
The optional description is shown on the resource row on the Resources view.
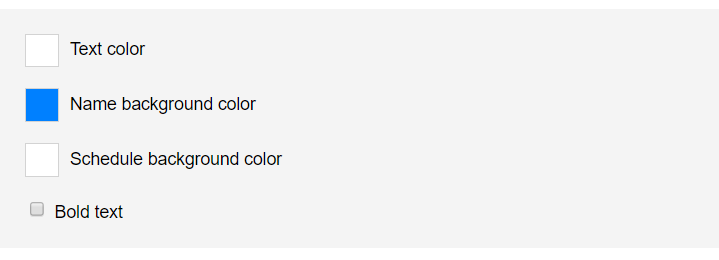
You can format the text and background colors of the resource row on the schedule chart. The name background color is used for the left part of the row, the schedule background color for the right part that also shows the bookings.
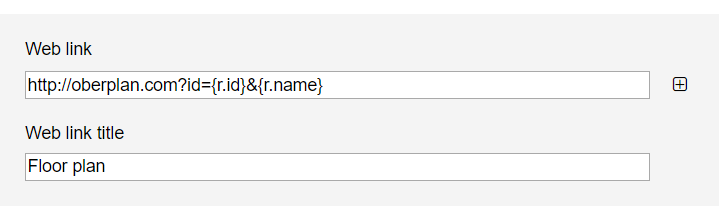
You can enter a web link (URL) to connect the resource with a web location. Click the button to add a variable to the link. The variable will be replaced dynamically with data.
If you enter a title for the hyperlink it will displayed instead of the URL.
Note: The resource link is shown on the expanded resource row on the Resources view and on the resource information window on the Schedule view.

You can enter text in two custom fields.
Note: The custom fields are only available if they have been given a name in the Schedule settings.
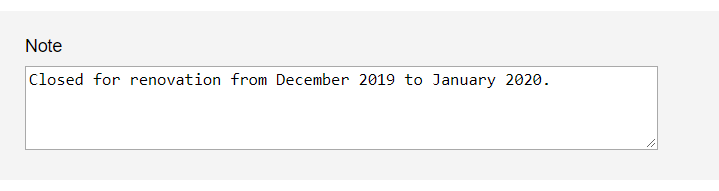
You can enter a note with arbitrary text.
Select Resources
If you want to edit or delete multiple resources at once, you have to select them first.
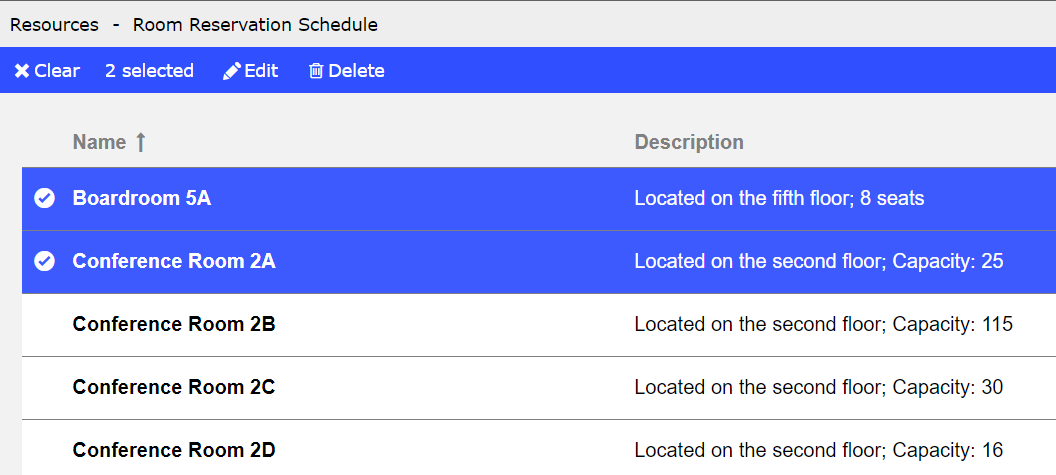
To select a resource navigate to the Resources view and click on the checkbox to the left of the resource row. This will highlight the full row. Then click the other rows you want to select too.
To select all rows on the page, click on the checkbox on the header row.
To unselect a row click it again.
To clear the selection click the button on the toolbar.
Edit Resources
To edit a single resource navigate either to the Schedule view or the Resources view.
On the Schedule view either right-click the resource name and select from the context menu or click the resource name to open the resource information window, then click the button on top of the window.
On the Resources view just click the resource name to open the resource page.
To edit multiple resources navigate to the Resources view. Select the resources you want to edit, then click the button on the toolbar.
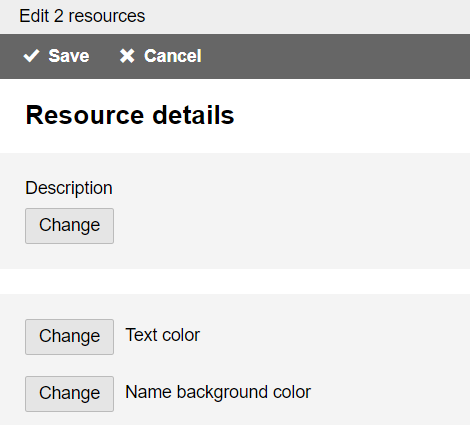
If you have selected multiple resources, all fields on the resource page are initially hidden.
Click the button to enable data modification. Hidden fields will be ignored when you save the input data.
Delete Resources
To delete a single resource navigate either to the Schedule view or the Resources view.
On the Schedule view either right-click the resource name and select from the context menu or click the resource name to open the resource information window, then click the button on top of the window.
On the Resources view click the button on the resource row or right-click the resource name to open the context menu. Then select from the menu.
To delete multiple resources navigate to the Resources view. Select the resources you want to delete, then click the button on the toolbar.
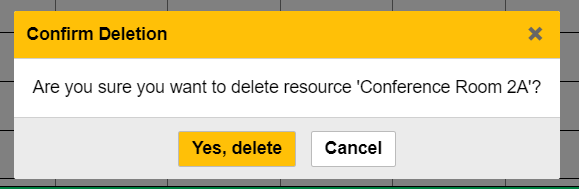
In all cases a window appears in which you must confirm the deletion.